
Wednesday 5-11-2014. Day 77.
Artisans for a Day
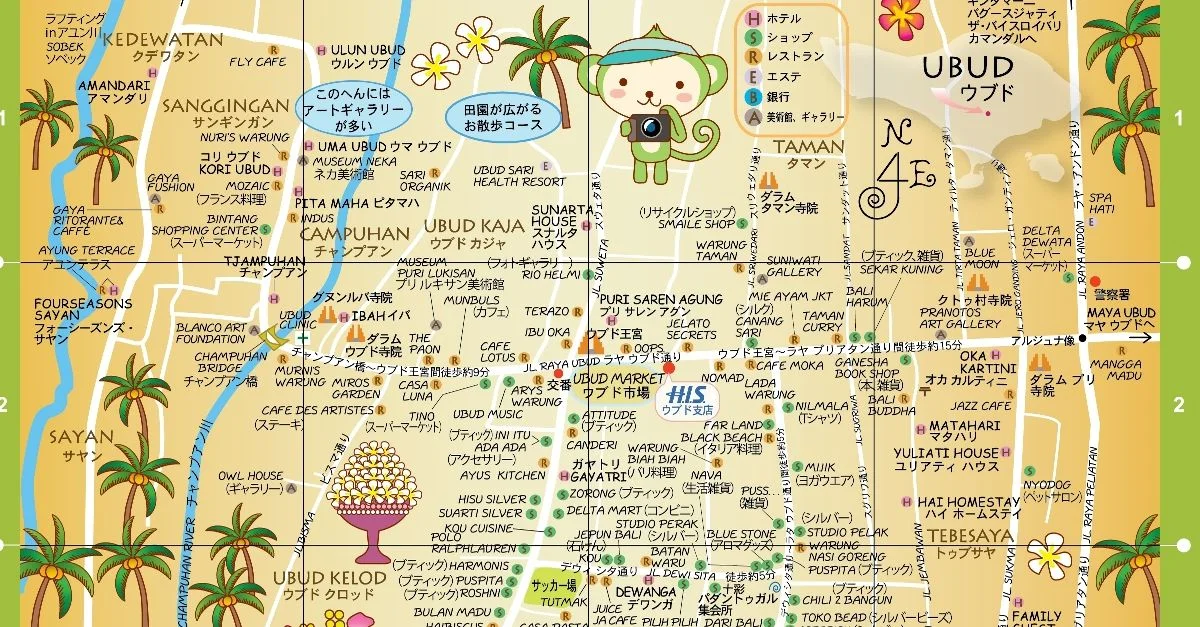
Ubud is known as the cultural and artistic hub of Bali, Indonesia. Deservedly so. Between the wood carving, painting, weaving, batik, cooking, and making silver jewelry, you can admire a true artisan’s work close up or even bring it home with you. And, these artisans are extremely giving, offering classes to teach others their craft. I was in heaven.
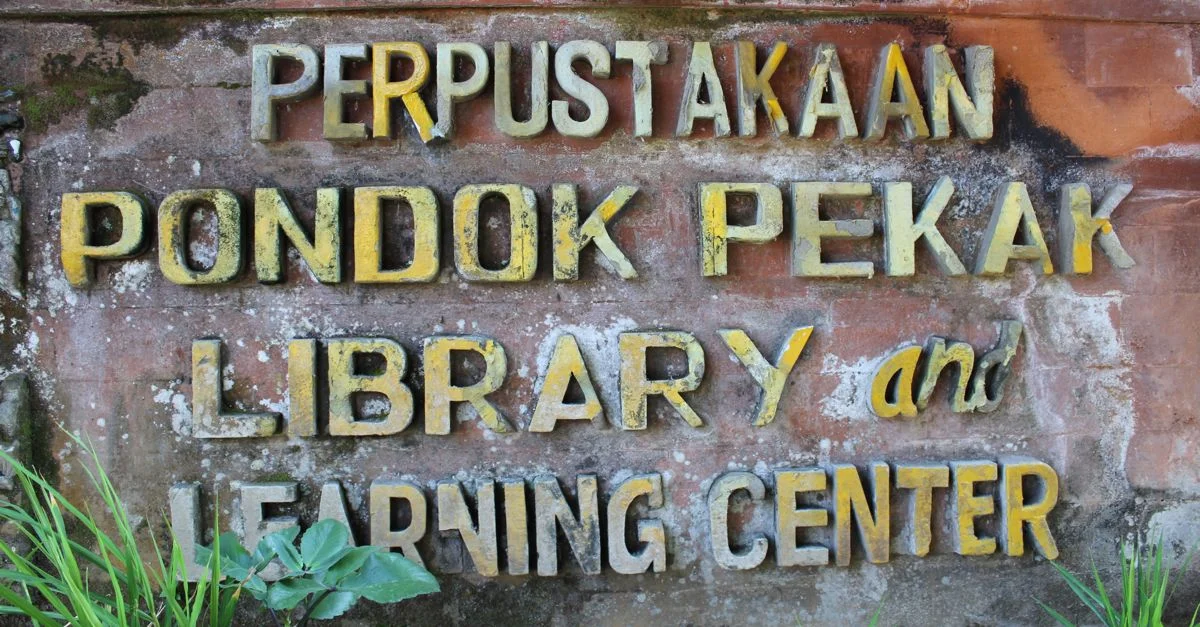
With a bevy of classes to choose from, I turned to the ever-so-trusty Trip Advisor for a recommendation. We chose to support the amazing Pondak Pekak Public Library in Ubud and take their class on how to make silver jewelry.
A note on the Pondak Pekak Public Library. It’s located on the east side of the football (soccer) field in the heart of Ubud and serves as not only a library, but also offers classes on everything from silver jewelry making to wood carving to learning about Balinese offerings. There is no set schedule, but with a few hours’ notice, they can call in a teacher for any of their classes.
We called on a Tuesday and the next day the girls and I were joined by a delightful Parisienne for our class.
Our teacher, Hanna had spent her whole life learning the art of making silver jewelry. She started by sharing some of her incredible and intricate designs with us before taking us through the process.

First, we needed to figure out what we wanted to create with the three grams of silver given to us (included with the class fee or 250,000 rupiah per person). Although, if our desired design was more then three grams, we could purchase additional silver.

I had already decided that I wanted to create a pendant that would weave together the first initials for Tom, Jackie and Frankie. Hanna approved!
The girls had some initial ideas, but after looking at some of Hanna’s drawings, decided to each make earrings. Frankie picked a twisted hanging earring design and Jackie designed a moon and sun for her future pierced ears. (Jackie did try to convince us that with her new earrings we should consider moving up the date for her pierced ears, but we held strong. Sorry, Jacks).
The first step was melting the silver with a torch and working the sliver into the basic material for the design. Our basic materials were already melted and in the basic form to get us started. For my piece, I used thick silver wire, Frankie had thin wire, and Jackie squares of silver.
Using pliers, Frankie and I bent pieces of wire to our desired shapes. For me, it was easier since I had three pieces to bend. Frankie patiently bent her wire using pliers into curly cues, two pieces for each earring. It took her a few attempts to get it how she wanted, but she persevered. I was impressed. And, I realized I had easily picked the easiest piece to construct! Then we hammered each of our pieces so they were flat.

Jackie was given little silver balls which she painstakingly glued one by one into a half moon and then onto a silver piece to make the rays of the sun.

After we had the basic pieces, Hanna fused our pieces together. Using a hot torch in one hand and pumping gas by foot, she smelted my pieces together, and then did the same for Frankie and Jackie. She cooled the pieces in water briefly and then it was time for the next step—sanding.

Hanna’s husband helped us with the sander, thankfully electric, but a bit daunting with the fast-moving sanding wheel and our little jewelry pieces. Once again, it was easier for me with a bigger piece, but even I needed help to ensure I would get each angle and side. After each of us was done, Hanna would carefully inspect each piece and then gracefully let us know if it needed more work.
The girls needed their earring pieces finalized, so Hanna added a hook to Frankie’s piece and smelted a thin wire to the back of Jackie’s pieces. Those elements then were sent back for more sanding.
Following sanding, it was the cleaning and polishing stage. Each of our pieces were dropped in a bowl with salt, water, and limes. Hanna held the torch under the bowl for about five minutes as the water boiled with our pieces inside. I asked her how she knew when they were ready, and she said it was just based on how they looked.
After putting each piece in cold water to rapidly cool it down, it was time for polishing. Hanna’s husband changed the sanding attachment to what looked like a shoe polisher and helped us polish each piece very carefully until they were bright and so shiny.
The Final Pieces
The whole process took less than two hours, even with our chit-chat with Hanna and our new friend from Paris, Clementine.
We came away with a sense of pride of what we had created and an even greater appreciation for the incredible talent and skills of artisans such as Hanna.
No matter where she is, Samantha can be found searching blogs for new places to eat, best street food, and great recipes.